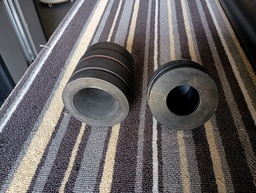
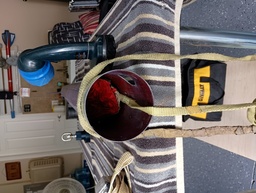
This rocket got pretty much damaged in the first flight at Airfest 29, Kansas. I'm going to repair it so I can fly it again at airfest 30, in September 2024. Jason is already working on a more solid transition piece from 4" to 3". The first one, the plastic one gave way un der the extreme Mach and G's speeds. Without the help from Jason I was totally lost in the repairs and the programming of the Nexus phone. Bernie is checking for some hardware parts and the M2245 IMax motor as well. I need to stay on top of this repairs and be ready when I make reservation for hotel and field accommodations.
Update 09/17/2023 - Jason's information regarding the phone:?https://www.insanerocketry.com/main/displayevent/8537926638759266602/
Update 03/13/2024 - Bernie sold his business to somebody in south Carolina. It will be hard to get an CTI M2245 IMAX motor now, also CTI suspended the IMAX motors for now.... Looking around now for somebody with an IMAX motor.
Update 03/14/2023 - Looking at SUNWARD to order the foreclosure and the retaining ring also, around $140 ! Contacted Alex Plavix to get some kind of 75 mm 6 XL grain motor, hoping for a CTI M2245 75 mm IMAX.
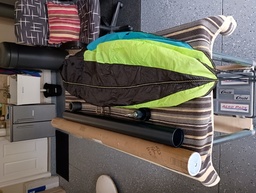
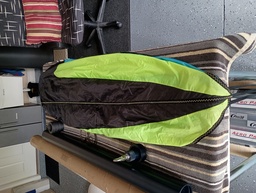
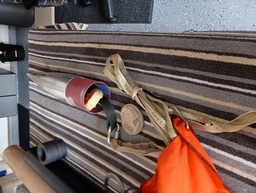
Update 03/19/2024 - Well, after a failure at Airfest 29 last year September, I decided to rebuild this rocket and fly it again. I could recover all the parts which was a miracle !!! Did a more robust and much more solid build. This LOKI M3464 motor will take the bejeezes out of this rocket for sure !! Will do some more modifications, to make me more comfortable with the launch. The previous motor had a much higher take off speed then this motor but still will take it beyond Mach 2.3 !!! It was very hard to find a motor of that size, I could not get the original motor M2245 from CTI because they stopped the production of high powered motor for now and they don't know when it will be back in production !!!! But I asked around and actually nobody could help me here. No one has a good solid high power motor ! So I asked LOKI and the vendors, like OneBadHawk has the motor !! But does not ship !!! Dam. and then the hardware problem, did not want to spend money again for a casing so I asked Clayton if I could borrow his 75 mm casing !!! An yes he agreed !!! He will be sending it to me in a few months. Now the problem is to get that motor here as soon as possible, I can also pick it up at the field he said, but I want to take a look at it myself first and see how it goes !!!
Update 04/17/2024 - Clayton said he will ship the LOKI casing. I wait till it arrives before I take next steps.
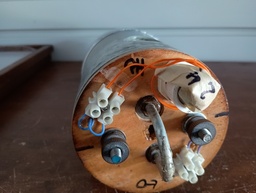
Update 04/18/2024 - I extended the wires for the main charges, the original was to short to connect comfortly. I solder them together and will use a scrink sock to make sure they do not touch any other connections.
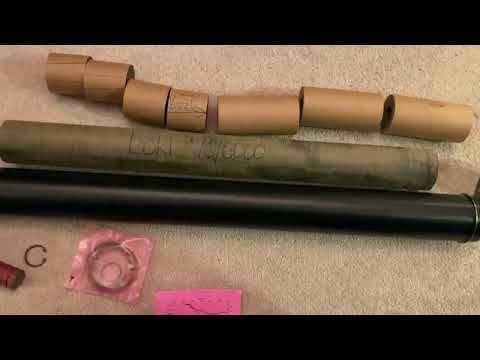
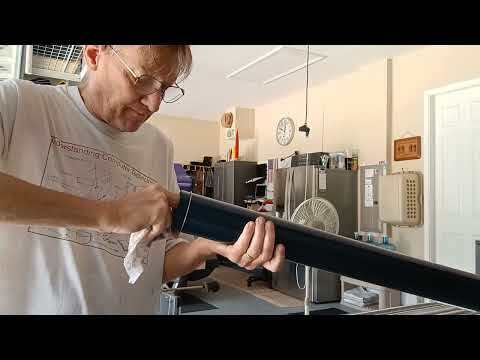
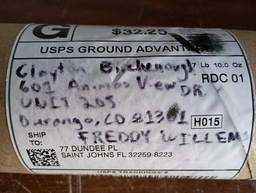
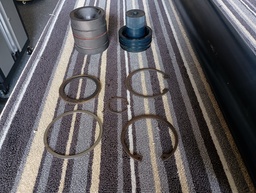
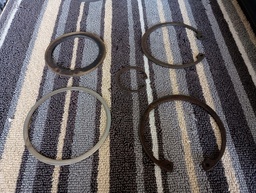
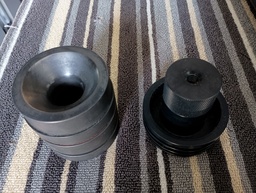
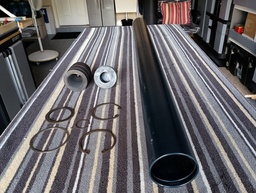
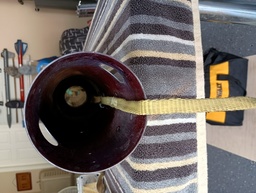
Update 05/10/2024 - Finally got the 75 mm Loki Casing in the mail send via USPS from Clayton, It came with all the parts including the snaprings. Just need to clean out the casing very thoughly. Also had to sand down my motor mouth a bit at the bottom because some glue kept it from sliding in freely. All good. Thanks Clayton. I also emailed Scott for some specific questions for instaling the motor and parts. Just want to be sure.
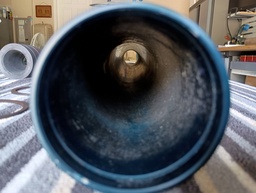
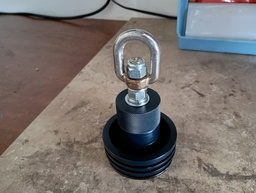
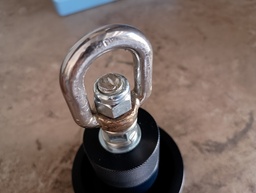
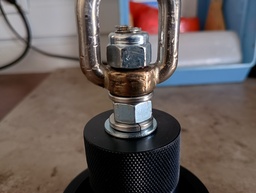
Update 05/11/2024 - It took me like 20 wipes to clean out that casing, pretty dirty, Still want to use a green scrubber to finallize it more. Cleaned the snap rings and grooves also. Worked on the eye bolt and had to drill out the hole a bit to fit the 1/4" rod. Took a while and burned up two bits. But it all fits with lock nuts and lock washers, very solid.
Update 05/12/2024 - Some more information from LOKI "Scott" : >>
Freddy,?If you've opened the reload, depending on how old it is, there should be a note with the smoke grain about the o-ring. If you don't have the bleed hole in the top center of the bulkhead you will not use the o-ring around the smoke grain. Then just retain it with the 1.25" snap ring.You do still need to follow the grain bonding instructions for gluing the grains into the liner. Here's a video showing most of this using the M-1378. https://www.youtube.com/watch?v=kWJFVYUpCUo&feature=youtu.beYou'll use the 1/8" thick orange/silicone o-rings on the nozzle, the same black o-rings on the top 2 grooves of the bulkhead and the 3/32" black o-ring on the liner shoulder of the bulkhead, bottom groove.Then when you assemble it, heavily grease the entire liner and slide the aft end of the case over the head end of the liner so the grease packs up at the head end of the motor where the liner is sealed to the bulkhead. This will allow the gas to more easily equalize thru the liner shoulder at the nozzle.Let me know if you need anything else.Thanks,
Scott Kormeier Owner/President Loki Research LLC. www.lokiresearch.com 573-216-8997.
Some information on THE ROCKETRY Forum:?https://www.rocketryforum.com/threads/loki-m3464-motor-assembly.186251/#post-2583053
Update 07/29/2024 - Just submitted my high altitude application to Kloudbusters. Hopefully I can make it there the end of August.
Update 08/07/2024 - Contacted Ted (Loki) to get my motor ready for pick up at the launch site on august 28, 2024. I hope he contacts me if something is wrong or so. Hope to see him there.
Update 08/08/2024 - High altitude flight approved: Freddy,Good news, your project has been given the GO for AIRFEST. This should be within my intended standing waiver for the duration of the launch, but please plan to attend the flyers meeting Friday before the range opens for details. If you are unable to attend inquire at registration about standing waiver and call-in threshold.?Cory.
Update 08/08/2024 - Ted confirmed that he has my motor ready for Kanses. Thanks Ted.
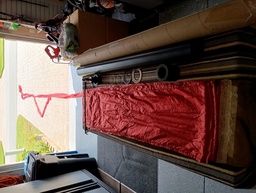
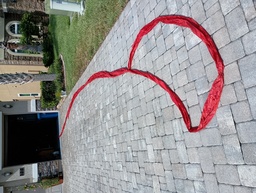
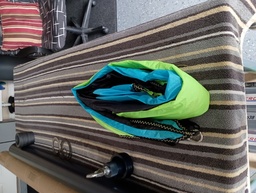
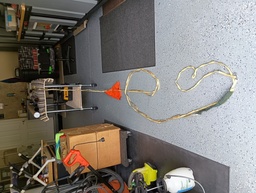
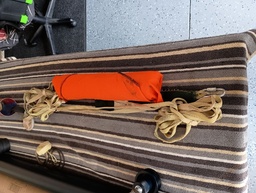
Update 08/11/2024 - Busy the whole day with selecting and packing stuff. All seems to fit inside the booster and AvBay and upper bay as planned, Kinda tight but good enough for deployment. Installed the charges already on the AvBay and tested the out. New 9v Batteries installed, will be using Zip ties for batteries and phone. Made also the Z-ties in the Kevlar recovery harnass. Rolled and folded the streamer tight, folded the X-form chute and in chute protector. Actually I'm already to go. Haha. Will double chech everything again, GoPro camera's are working good. Charged the RTX, both and handhold.
Update 08/12/2024 - Made new booster charges today, the ones with the airpocket, just to make sure I have deployment at apogee. The booster charges will both have the airpockets.
Update 08/13/2024 - Found a way to get the GoPro cam AND the phone on top of my Canon installed, So I have stills and video's from both video camera's. hope to aim good to get it all on tape. Also made a bag for the Motor installation items, with the epoxy glue, Aceton, wipes and blue shoptowels and garbage bags. Will install the motor in the hotel room the day before, after I pick it up from Ted (OneBadHawk).
Update 08/14/2024 - Will have to repaint the AvBay section (silver), got real bubbled up in some spots. Also got the Aceton and Saraan wrap 4 pieces packed. I'm trying to square away all the items that I need to glue that motor together, and put it one bag so it's easier to carry in the hotel room unnoticed with the motor grains and liner. Will have the epoxy in different cintainers and sealed off for no-leak. Blue towels already packed and raggs. Just the clear tape.
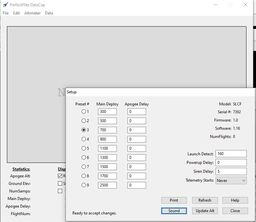
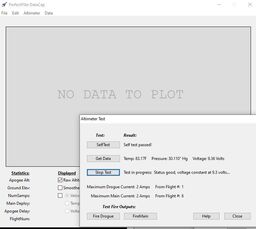
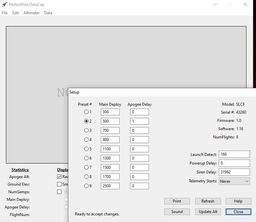
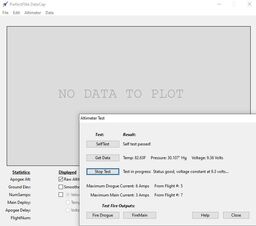
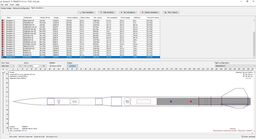
Update 08/15/2024 - Stratologgers setup and test ok. did some epoxy on top of the inner AvBay and also the bottom of the air charges? (booster). Cut some circles for the inner protection of the streamer and chute for the charges. It's made out of oven mats. Made the holes a bit bigger so they fit a screw sriver for the on/off switches. Total weight is now: 7978 grammes = 17.588 Lbs. I have to re-adjust the OR file because the rocket is much heavier then before, so It will only reach like 23.000 feet altitude, dam dam dam. Also got the RTX GPS coordinates squared away, settin 3 in GPS programming setting, Decimal degrees !!
Update 08/16/2024 - Breakdown of weight: Booster 3474 gram, streamer 485 gram, Parachute and harnass 1710 gram, upper bay and nose cone 940 gram, AvBay and sled 1123 gram, Phone and GoPro 191 gram, 2nd camera in booster 55 gram = 7.978 gram = 15 Lbs.
Update 08/17/2024 - Did another dry run wuth the Avbay and upper bay, all screwed in (12 screws) Booster is ok, BUT I'm not going to use the streamer, to tight fit, will use a small drogue and camera inside, much easier to pack. Also put some epoxy in the screwholes to make them tighter. Phone updated to version 8.8 IR for the reverse portrait setting. Also the rocket will be a bit lighter since the streamer is not in there.
Update 08/20/2024 - Since I do not have the motor here, I'm just double checking the assembling instructions over and over again. Will pack everything that I need in the hotel room to assenble the motor. Also checked the charges again and the stratologgers.
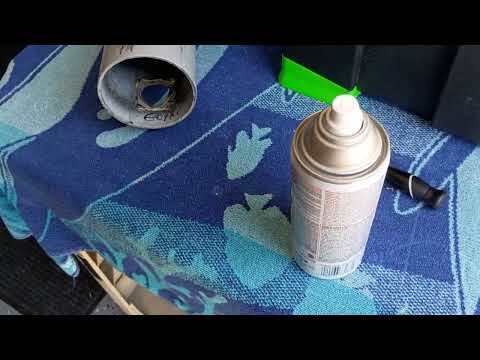
Update 08/21/2024 - I keep on re-doing the AvBay painting, it always crumples up, weird. Now this time I used primer and see how it somes out after sanding again and applying the top silvery coat.
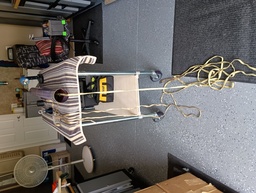
Update 08/25/2024 - Painted the AvBay finaly, with minor problems, will leave it as it is for now. Made the very difficult decision to go forward with the trip, Only ONE day at the field, and then Pawhuska tour and fun. Will take the days very very slowly and not getting into health problems. So today I brought the Cargo Box down and installed on the car, some issues but no damage. Took me a while because of my frozen shoulder and arm. I prepped the upper bay AND AvBay connected, Chute main chute is in and connected, Z-ties made, two Kevlar shock cords, All main charges are connected and tested. AvBay is connected with 12 metal screws onto the upper bay. Actually no problem packing the Main chute and cords. The RTX will be in the booster. Also booster has the main charge tape at the hight of the casing. Z-ties made on both Kevlar Cords. The casing for the GoPro is also connected. Small droguw chute is connected with chute protector. Will add dog barf in there. AvBay sled has the upper charges connected and is on the stratologgers. Sled is on the rails, so I just have to pull it out gently and install the phone (Zip ties) and the GoPro camera (tape). All good to go. Car is gasse up. Will complete to load everything tomorrow. I will bring bungess and padding, because the rocket will be on top of the car while driving to the RSO station for the M notors.


 Loki Research Gluing Multiple Grains.docx
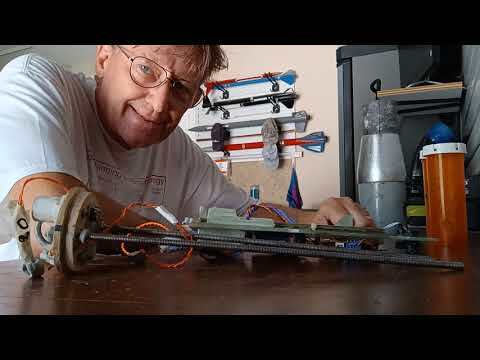


 1 2 3
1 2 3


Comments
I will ALWAYS support the NEXUS 5X as it is an awesome rocket phone even if the Play Store does not.
On your nexus 5x, open chrome web browser and type: https://www.insanerocketry.com/ir808.apk
Download and then install the app.
Version 8.8 is just fine for everything you need. 8.9 is exactly the same as 8.8, android said they would delete my app if I didn't update.
I test installed it to my 5x and all worked just fine.
Step by step instructions
After installing:
Confirm everything to allow all the options IR needs, quit the application by pressing the square on the lower right and then dragging the application to the right to quit.
Then reopen the application and go into settings.
Carefully configure everything you need.
Testing
Final:
In the field, don't have your bay vertical (nor phone upside down), as if it is launching, until it is on the rail. That insures it stays nice and cool.
Make sure the bay+phone stays in the shade until launch.
HAVE FUN!!!!
Thank you so much for posting it here.
Did the tests, and all went well, voic, video, data recording, all perfect, you safed my day again.